Before you proceed, please make sure you have a customer account with us. You can register using the link you have received from us by email. If you already have an account, we will be happy to assign your licenses to that account or give you a free trial.
In case you already have our free Community Edition or PhotoPrism Plus installed, you can follow the Upgrade Guide to get started with PhotoPrism® Pro.
System Requirements
We recommend hosting PhotoPrism Pro on a server with at least 4 cores, 8 GB of physical memory, and a 64-bit operating system. It runs best with Docker Desktop on Windows 10+ and macOS 11+, Podman on Red Hat and compatible Linux distributions such as CentOS, Fedora, AlmaLinux, and Rocky Linux, and Docker on all other Linux distributions such as Ubuntu and Debian.
Firewall Settings
In order to successfully set up your installation and view location details in PhotoPrism® Pro, you must allow requests to Docker Hub and our geocoding API if you have a firewall installed, and make sure your internet connection is working.
Portainer Setup Guide
Portainer lets you manage Docker containers through a web interface. On many NAS devices it either comes pre-installed or you can install it from the vendor’s app store.
Setup Using Docker Compose
Docker Compose uses a human-friendly YAML config file to specify all application services, so you can easily start them with a single command.
For this to work, make sure that you have Docker and Docker Compose (Linux) or Docker Desktop (Windows) installed and running on your server before you continue. Be careful not to use an old Docker Enterprise version that Microsoft used to pre-install on Windows Server, as it is incompatible with modern Docker images. If your server does not yet support the new docker compose command, you can still use the legacy docker-compose command instead.
Podman is also supported as a replacement for Docker on Red Hat Enterprise Linux® and compatible Linux distributions such as CentOS, Fedora, AlmaLinux, and Rocky Linux.
In case you are not sure if you have Docker installed yet, and if so, which version, you can run the following command in a terminal to display the version information:
docker --version
For users of Red Hat-based Linux distributions:
podman --version
Windows users should have the latest Windows Subsystem for Linux (WSL2) installed. With Windows Pro, Server and Enterprise, Hyper-V can be enabled as an alternative, which Microsoft does not offer its Windows Home customers.
Linux Kernel Security Modules such as AppArmor and SELinux may require additional configuration if you want to use them. The application services may fail to start if they have insufficient permissions or privileges.
We can offer you alternative installation methods if needed. However, this method is the fastest and least error-prone for most operating systems and we generally recommend it unless there is a specific problem.
Step 1: Customize Configuration
Download the compose.yaml default configuration for your operating system (right click and Save Link As…) to a local folder, e.g. /opt/photoprism on Linux, then open the file with a text editor to customize the storage volumes and other options as needed:
Except for the additional features, PhotoPrism Pro is configured in the same way as PhotoPrism. You can therefore refer to our official documentation for basic settings and general setup instructions. When editing the configuration file, please note that related values must start at the same indentation level in YAML files and that tabs are not allowed for indentation. We recommend using 2 spaces.
Please always change PHOTOPRISM_ADMIN_PASSWORD so that the app starts with a secure initial password. Never use easy-to-guess passwords or default values like “insecure” on publicly accessible servers. There is no default in case no password was provided. A minimum length of 8 characters is required.
If you want to start with an empty library, you can mount any directory that has enough free space for your needs.
Step 2: Start PhotoPrism Pro
When you are done with the configuration, open a terminal and change to the folder where the compose.yaml file was saved. Now run the following commands to pull the latest images from there, and then start MariaDB and PhotoPrism as background services:
docker compose pull
docker compose up -d
Users of Red Hat Enterprise Linux® and compatible Linux distributions such as CentOS, Fedora, AlmaLinux, and Rocky Linux can substitute the docker and docker compose commands with podman and podman-compose as drop-in replacements:
podman-compose pull
podman-compose up -d
 After waiting a few moments, you should be able to open the user interface in a Web browser by navigating to:
👉 https://privatecloud.photos:2342/
If you have modified the server hostname, port, or protocol in your configuration, the URL to use changes accordingly. Other issues? Our Troubleshooting Checklists help you quickly diagnose and solve them.
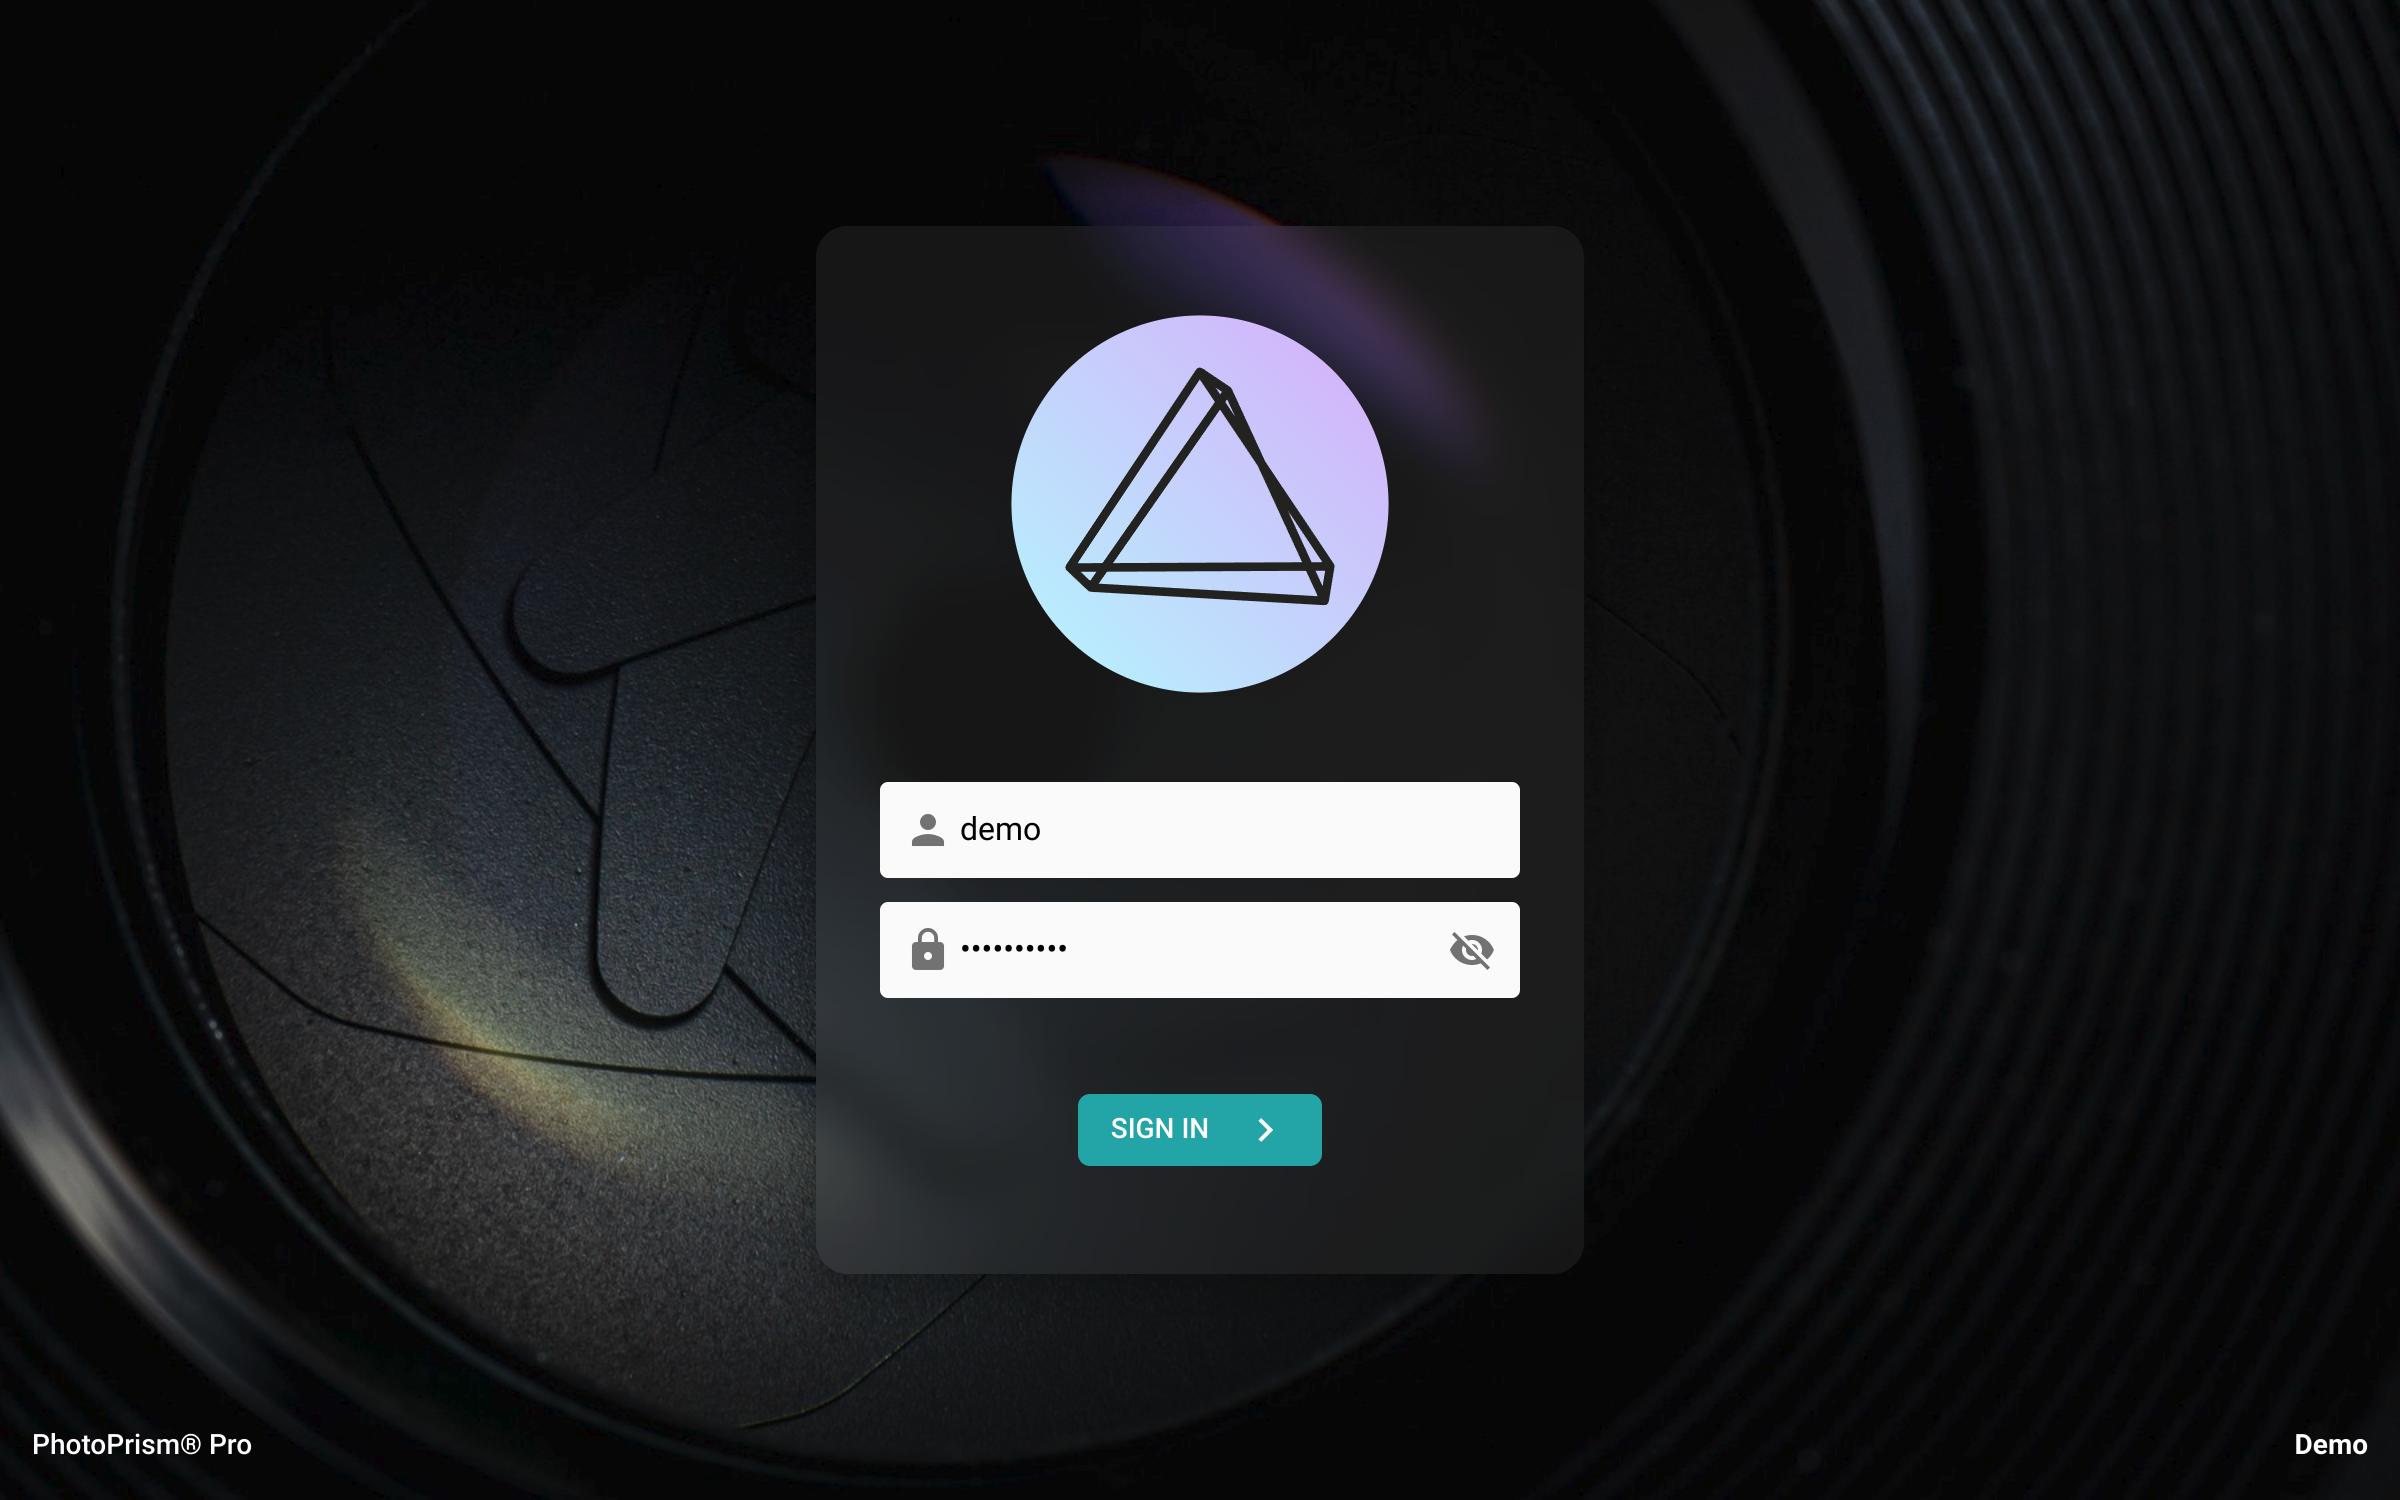
When you see the login screen, sign in with the admin username and initial password you specified in your compose.yaml file. You can change it in the user interface when you navigate to Settings > Account. PhotoPrism® Pro also includes a web user interface for creating additional accounts and managing sessions.
Note that the examples in our documentation use the new docker compose command by default. If your server does not yet support it, the old docker-compose command will continue to work.
To verify that all services are running properly, you can view the server logs at any time by running docker compose logs -f.
Step 3: Activate Your License
You can now follow these steps to activate your license by connecting your instance to your customer account at my.photoprism.app:
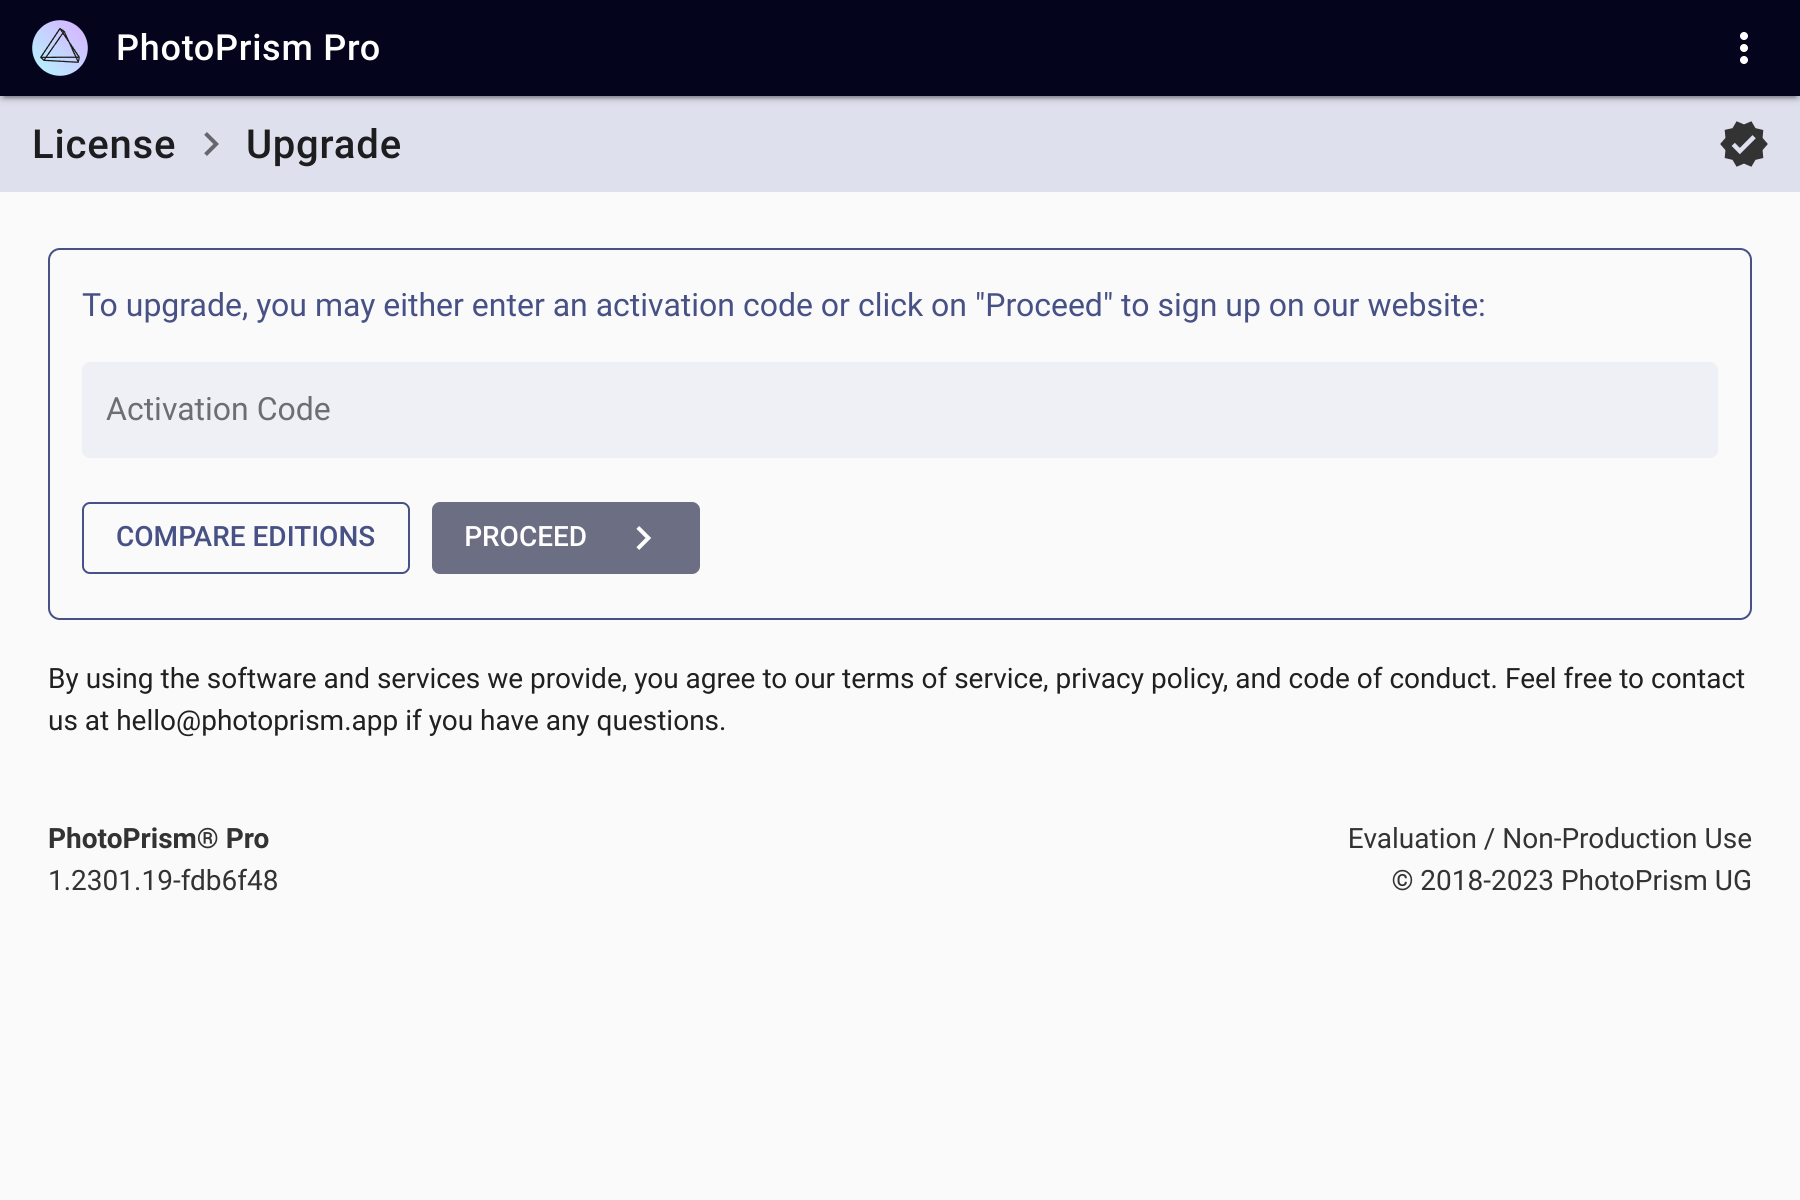
(1) From the main navigation, open Settings and click the Evaluation / Non-Production Use link in the footer. If you do not see this link, for example on mobile devices, you can manually navigate to /library/upgrade in the browser toolbar.
(2) If you have already received an activation code, enter it and click Activate or click Register to sign up on our website and receive a code to connect your account.
(3) Finally, please restart your instance for the changes to take effect. You should now see the name of your company or organization in the footer of the Settings page instead of Evaluation / Non-Production Use. This means that your instance has been successfully activated for production use. Thank you very much!
Step 4: Get Started
Our First Steps 👣 tutorial guides you through the user interface and library settings to ensure your library is indexed according to your individual preferences.
In the following section, we’ll give you an overview of the available user roles in PhotoPrism® Pro and show you how to manage accounts.
User Management
In addition to the command-line interface available in all editions, PhotoPrism® Pro includes a web user interface for managing user accounts as well as additional account roles to restrict permissions as needed.
Authenticating Users Against a Directory Server
With the built-in LDAP support, you can authenticate users against a central Lightweight Directory Access Protocol or Active Directory (AD) server so that users on the corporate network can sign in with their existing usernames and passwords.
Using Audit Logs
Audit logs help your security, auditing, and compliance entities monitor PhotoPrism® Pro for potential vulnerabilities, misuse, and other critical incidents.
Hardened Web Security
PhotoPrism® Pro additionally includes advanced security features such as session monitoring (run photoprism auth --help to see the available commands), which allows you to create, inspect and delete access tokens for authenticating browsers and other clients (including app passwords). You can also set a general request rate limit for the built-in web server and a threshold for failed login attempts.
For more information on the available security options, see the Authentication and Web Server sections in our configuration options overview.
Using HTTPS
For HTTPS to work with your own domains, you can either use an HTTPS reverse proxy like Traefik (that you might already have to run other services) or specify a TLS certificate and private key file via PHOTOPRISM_TLS_CERT and PHOTOPRISM_TLS_KEY in your compose.yaml file.
PhotoPrism® Documentation
For more information on specific features, services and related resources, please refer to the other documentation available in our Knowledge Base and User Guide: